Tuesday, March 27, 2018

Our Dream Patio with Retractable Screen and Sliding Barn Doors!

I have previously posted our patio furnitures in the work.... Now I am adding pictures of our patio that is now finally taking shape! We hired a contractor to build the roof and the concrete--- then the retractable screen, but all the rest, my dear husband added- the floor  tiles, sliding screened barn door, screen enclosures on both sides and the bricks around it. It pays to be able to make these things yourself, it saves you a lot! At first he didn't have any idea on how to do these things, but through research and hard work , everything he has  learned...


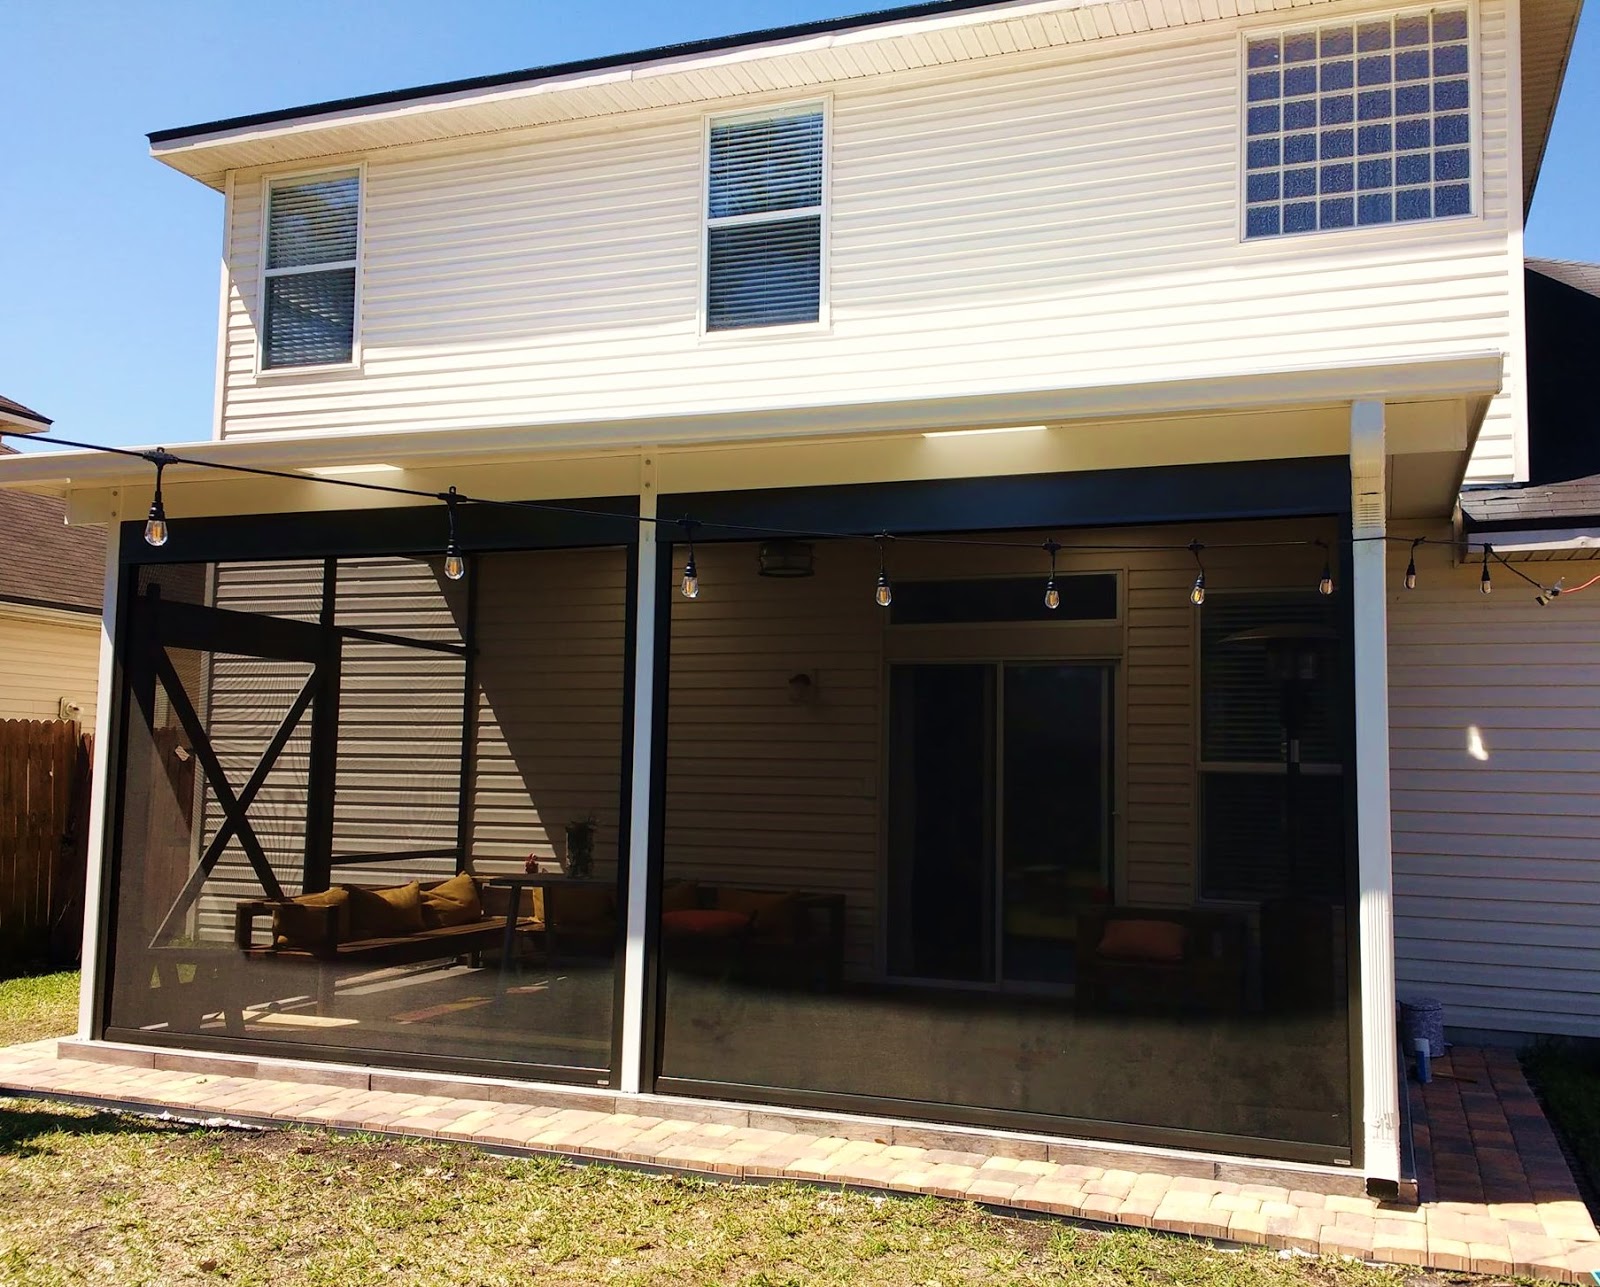
We love these retractable screens! During the day, it can stay open, giving you an option of an open outdoor patio.... and close it at night as insects starts to bug!


Screen opens and close at a touch of a button!
 I like the feel of openness so although we finally decided to enclose our patio, (thanks to Florida summer bugs!),  we added two sliding doors on both sides, so we can open it during good spring and winter weather.

Isn't my husband awesome? He made these 2 sliding barn screen doors!! I didn't imagine him to be a handyman , 12 years ago, but now... he is transformed, lol!
This is the ceiling /roof with two skylights---it  gives us natural sunlight during the day. We chose to place a simple outdoor lamp for now.
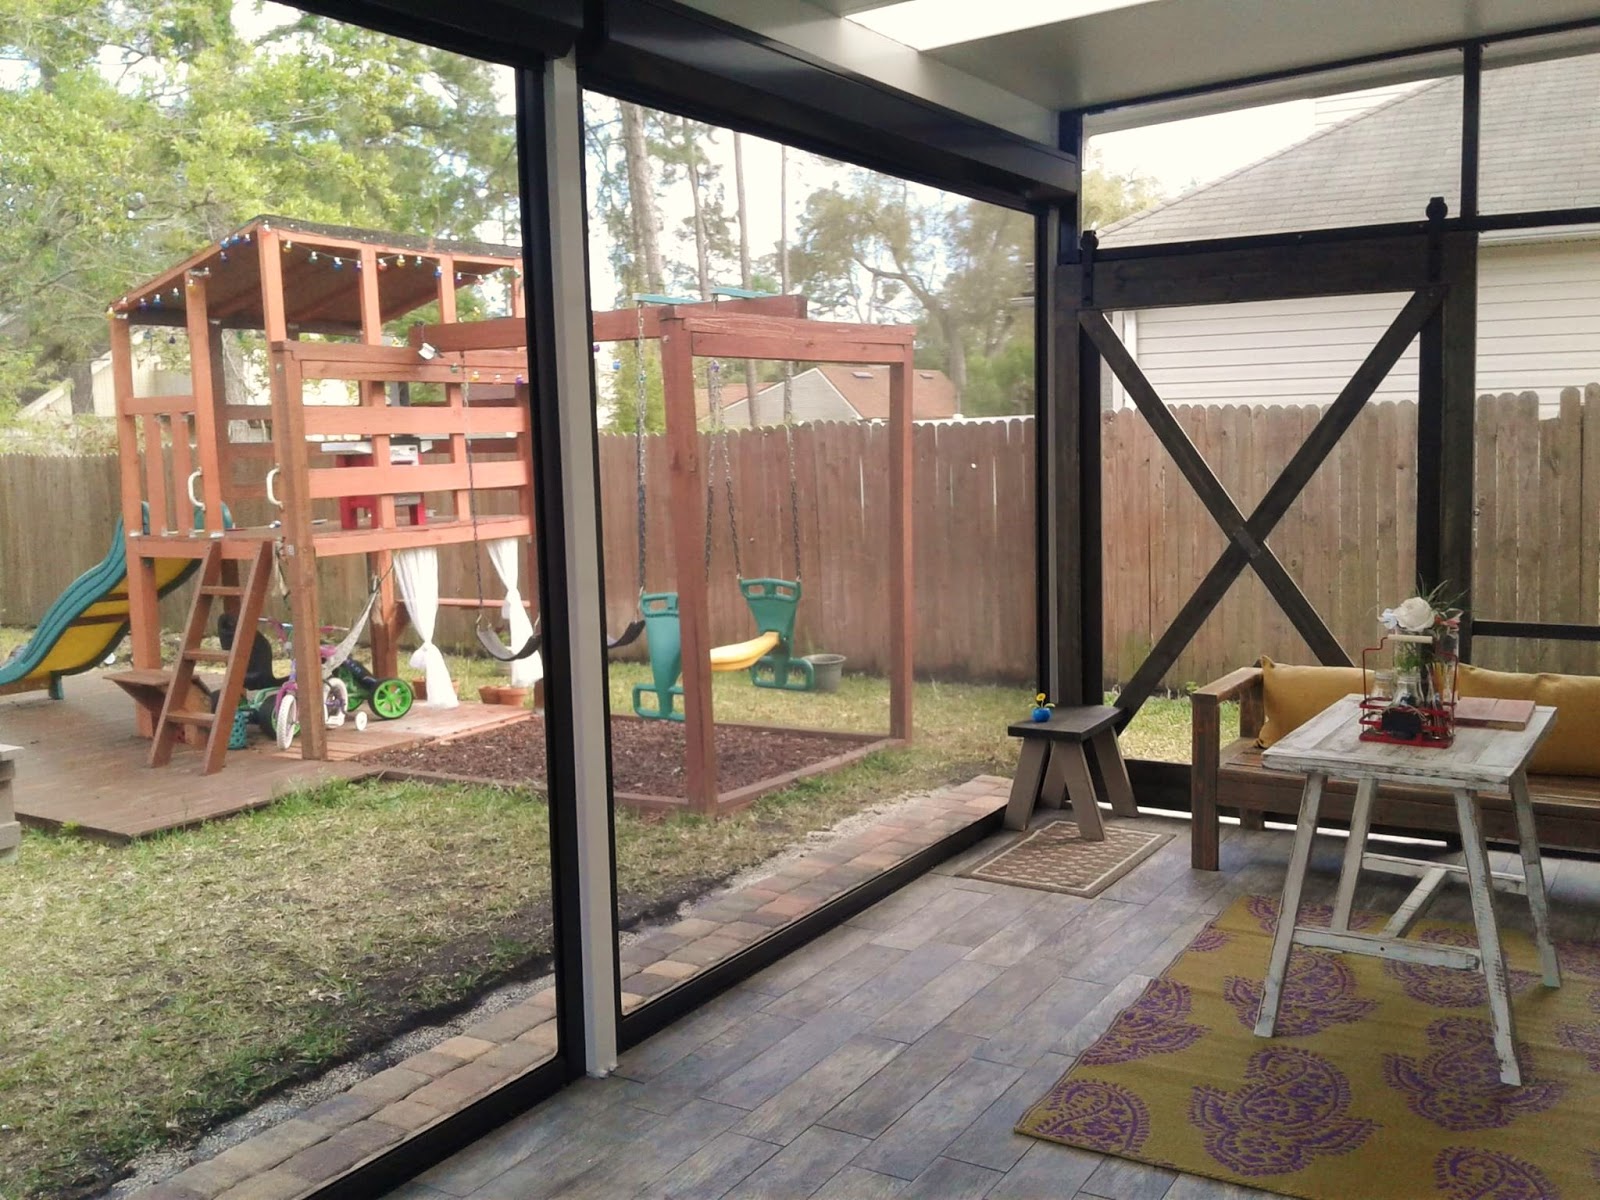
That playground/play house were also built by my awesome husband!
As we live and enjoy this patio,  day to day, we will try to add decors and things that will make it more enjoyable and relaxing.  In the future I dream of opening this sidewall and putting a big window that will open up to our living room--- yes, my husband, this will be in the future, and it's only a dream for now, lol!!!

Saturday, March 24, 2018

Easy DIY Decorative Pillows

This is one of my favorite  easy projects--- making throw decorative pillows! It literally takes about 15 minutes to make one, as long as you have already figured out your design idea.

Grab pieces of fabrics, zipper, buttons and laces!


And the practical part is, you don't have to break your budget to do this-- if you have an old pillow and it's time to replace, don't throw it away to the dumpster- wash it ( most of the pillows can be washed in the washing machine and tumble dry) and once it is dry, cut it to the size of decorative pillow that you want. Use the old pillow case to cover it.


Gather your materials, if you have fabrics that you want to use, cut it to the size of the pillow with about 1 inch allowance on all sides for sewing. 
These are simple art supplies that you need to make the designs! 
(not shown are buttons  )

I used a stencil and a piece of solid color fabric--- you can use textile paint or ordinary acrylic paint.

I used a big letter A stamp and a leaf stamp, I also used an actual dried leaves to make the imprints  .


You can do anything with cute buttons and laces! I hand stictch the design for a more dramatic effect!


Trying to be fancy on this one, I actually embroidered the words on it!

Big or small projects, what really matters is that you are actually enjoying it! On my next diy pillow blog, I will share with you how to actually make a simple decorative pillow without using zipper. Any one that can operate a sewing machine can do it! Please read my next blog....

Easy Wall Decor projects


An easy diy chalkboard project--- paint a plywood with black chalk paint, once dried, sand it lightly until it is smooth. 


Using a stencil to write letters. Wetting a
chalk with water makes it easier to write.

Friday, March 23, 2018

DIY Wreath Frame


Get creative with this wreath frame!  Very versatile  decor for the wall 
or for the door!


Start by cleaning an old unwanted frame.


Once the paint is dry, lightly sand the corners for the rustic effect. You may
apply a thin coat of polyurethane for gloss.

You may even switch the center piece, to  adapt to the season.


DIY Farm Table

We got tired and outgrew our four-seater dining table that we had have for almost 8 years, so we decided we needed a new and bigger one. I was ready to sell our table on a yard sale for a low price of $50--- but then decided against it... So we figured out a way to expand the table to  make it a seven-seater table. My husband used the original legs, and made a bigger skirt.


I revived this old oak chair that originally came with the table. I sand the white paint lightly, covered it with gray paint , and when it dried up, i lightly sand it again --- my version of gray-white wash.  I changed the color of the stain to dark espresso and polished it with clear polyurethane.


College Boy Bedroom DIY

Excited to share with you the bed that my husband built for my son...
An oversized bed  for a college boy , it offers more
space for their stuffs --books and gadgets that they'd like
to just lay around their bed...


                                  Made with 1x6 common lumber.. this is a queen bed.. there's pull out under for                                      visitor 's use or just for extra storage...

pretty girls bows

                                  my passion to create cute little  things for cute little girls!                 ...